
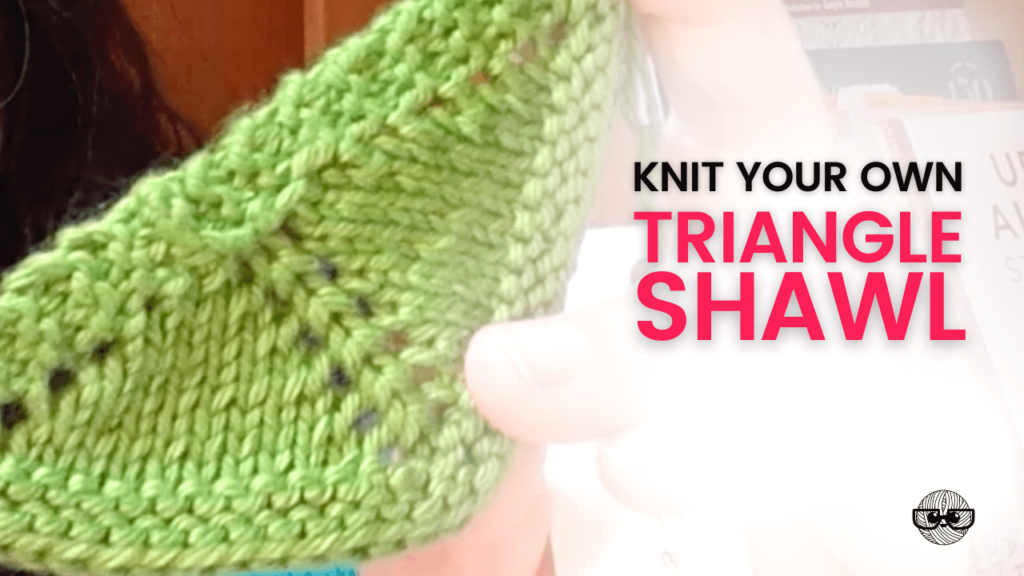
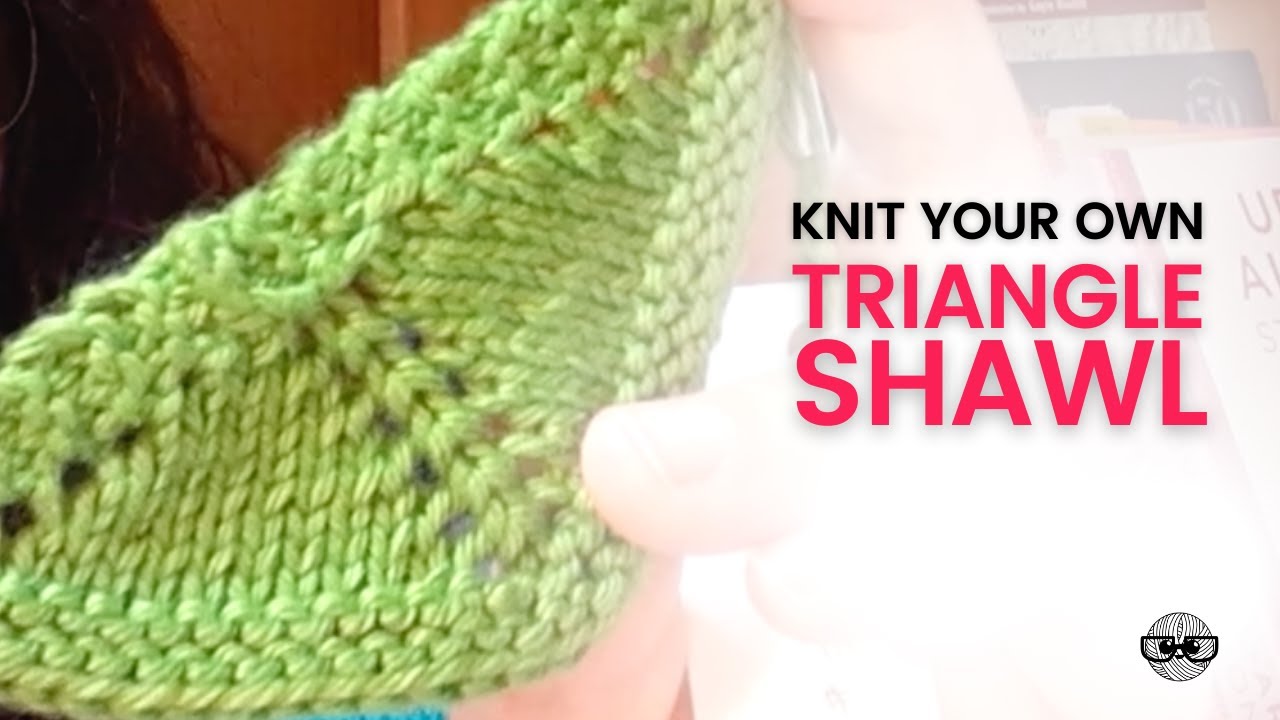
Triangle shawls are one of the most popular knitting patterns. They are extremely versatile (there’s more than one way to knit a triangle shawl) and you can add so many different design elements that each one would be completely unique. One classic method is the top down triangle shawl.
Top-down triangle shawls begin with a cast on at the center neck and uses increases at each edge and two at the center (four increases total) on every right-side row to create the shape. But there are many ways to play with this shape, add color, or texture with cables, lace, and more. There are endless possibilities with this basic shawl construction!
Let’s look at the basic construction of a top-down triangle shawl, how to add variety with color and stitch patterns, and how to easily change the shape by introducing two more increases.
Basic Instructions for Knitting a Top-Down Triangle Shawl
Let’s start with the basics – the construction of a top-down triangle shawl. This type of shawl is worked from the center of the neck outwards, using increases along four set points to create the shape (see the image below). While you’re knitting you are actually creating two triangles that share a central ‘spine’ stitch and edge stitches.
It all begins by casting on 9 stitches (or working a Garter tab cast on – we’ll discuss that in another section).
After casting on, you’ll work a set-up row where you begin your increases (we’ll use yarn overs in our sample today – but you can certainly replace them with the increase of your choice) and also place markers. The markers separate the edges (three stitches at each edge) of the shawl, the two triangles that form the body of the shawl, and the ‘spine’ stitch in the center.

Set-up row: Knit 3, place marker, yarn over, knit 1, yarn over, place marker, knit 1, place marker, yarn over, knit 1, yarn over, place marker, knit 3.
After working the set-up row (which is a right-side row), you’ll have three edge stitches, a marker, three body stitches, another marker, the center stitch, a third marker, three body stitches, the final marker, and the other three edge stitches.
This next row is a wrong-side row and establishes the background stitch for the body of the shawl. We will continue to maintain the first and last three stitches in Garter stitch so they will be knit on every row (and slipping markers as we come to them).
Wrong-side rows:
- If the shawl is Garter stitch, you will knit all the stitches on the wrong-side rows.
- If the shawl is Stockinette stitch you will: knit 3, slip the marker, purl to the final marker, slip marker, knit 3.
You’ll continue following those basic instructions for the wrong-side rows, and on the right-side rows you’ll work the following:
RS rows: Knit 3, slip marker, yarn over, knit to marker, yarn over, slip marker, knit 1, slip marker, yarn over, knit to marker, yarn over, slip marker, knit 3. (4 sts inc)
You’ll continue following these two rows of instructions, increasing by four stitches on every right-side row, until the shawl is as large as you want then bind off.
There are so many ways to play with this basic construction method – add color with stripes, stranded colorwork, or slip-stitch colorwork. Add texture with cables, lace, or brioche. There are so many possibilities, and as long as they fit within the basic shape, you can create your own unique top-down triangle shawl.
We’ll explore some of the decorative possibilities in another section, but before we do, we need to look at a few more important aspects of knitting a top-down triangle shawls – so you can create a truly unique design.
Adjusting the Cast On Stitch Count
If you want to make some adjustments to the beginning of the shawl, there are a few things you can do:
You can adjust the number of edge stitches.
Our sample shawl above allowed for three stitches at each edge, but you can certainly add more if you want.
You can adjust the number of central ‘spine’ stitches.
There’s no reason the central stitch – sometimes referred to as the ‘spine’ of the shawl – has to be just one stitch. Make it three stitches if you like. Or even add enough central stitches to work a lace panel or a cable down the center of the shawl.
You can adjust the number of starter ‘body’ stitches.
Our sample above starts with just one stitch for each of the triangle ‘body’ pieces that make up the shawl and we work two increases in each of those sections right away (for three stitches total). But there is no reason you can’t start with more body stitches – especially if you are working a particular stitch pattern that requires a certain number of stitches to work the pattern.
If you’re changing the number of stitches in any of the sections, you’ll need to adjust the cast on number. Add the following numbers together to determine how many stitches to cast on for your shawl:
- Number of edge stitches (multiplied by two)
- Central spine/panel stitches
- Body stitches for one triangle (multiplied by two)
Get the Pattern

Fill in the form below to get access to the FREE Resource Library – and get a copy of the Top-Down Triangle Shawl pattern ‘recipe’.
The Garter-Tab Cast On
When you knit your first top-down triangle shawl you’ll discover that there is an odd gap along the center neck area where the cast-on stitches were created and initially worked. Those nine stitches end up spreading out really far to accommodate the shape of the shawl and you end with an unsightly gap.
Of course, there’s nothing wrong with this feature, but it does interrupt the flow the top edge stitches across the shawl. If you don’t like that gap and want a more seamless look along that top edge of your shawl, a ‘tab’ cast on is what you need.
A ‘tab’ is simply a small piece of knitting that’s used to begin the shawl body. After working the small square of fabric, stitches are picked up from one edge and from the cast on edge to account for the total stitch count.
There’s actually a few ways to create this tab, but it should be worked in the stitch pattern that you’re using for your edge stitches.
In the case of our sample shawl, that would be Garter stitch so we’ll use a Garter tab to fill in that gap.
To work a Garter Tab:
- Cast on 3 stitches (Backwards Loop or Provisional cast-on method).
- Knit 7 rows (6 rows for the Tab, the 7th row is the beginning of the pick-up row).
- Turn work 90° and pick up 3 stitches along edge of Garter stitch fabric.
- Pick up 3 stitches from cast-on edge (or knit 3 stitches from the provisional cast-on edge).
- There are now 9 stitches on the needle (3 initial stitches, 3 stitches picked up from the side, 3 stitches picked up from the cast on edge).
This small piece of fabric fills in that gap along the neckline and provides the nine stitches we need to begin our shawl.
If you are visual and want to see this demonstrated live, click the link below to watch a video on YouTube that demonstrates the process.
Nerdy Knitting on YouTube: Garter Tab cast on
Another option is the I-cord tab cast on. An I-cord edge is a great alternative to a Garter stitch edge on a shawl and you can start with a tab cast on just like you can for the Garter stitch edge. Here’s a video that demonstrates how to work the I-Cord tab.
If you’ve changed the cast on amount to accommodate extra edge stitches, more stitches for a central panel, or additional body stitches, you can change the tab to adjust the number of cast on stitches.
To adjust for a different number of cast-on stitches:
Begin by casting on enough stitches for one of the edges. In our example, we have three edge stitches at each side, so we cast on three stitches for our Garter tab. You can cast on four or five (or even more) – depending on how many edge stitches you want for your shawl.
Then, you must knit enough rows to accommodate all of the body stitches and the central spine stitches. For example, our sample cast on one stitch for the spine and one stitch each for the body stitches (a total of 3 stitches). Since we are working in Garter stitch and picking up a stitch for every two rows of Garter stitch, we double that number and work six rows.
So, however many stitches you need for the body of the shawl and the central spine, you’ll double that number and that is how many rows you need to work.
Then you need to work one more row to maintain the Garter stitch pattern – if you stop and pick up stitches before working this extra row, you’ll notice the pattern is disrupted when picking up stitches from the initial cast on edge.
After working that final, extra row, you’ll turn your tab and pick up and knit one stitch for every two rows – using the bumps at the Garter stitch edge. One of those bumps equals two rows of Garter stitch so you should have enough bumps to accommodate all of the stitches you need to cast on for the central panel and body stitches.
After picking up those stitches, turn the work and pick up stitches from the cast on edge. If you used a provisional cast on, you can remove it and knit the live stitches.
Adding Stitch Patterns & Texture
A top-down triangle shawl is easy to use as a blank canvas for your knitting adventures. You can add texture, color, or an interesting stitch pattern.
Here’s just a few of the things you can do with this shawl shape:
- Add a cable or lace panel to the central ‘spine’
- Change the stitch pattern for the edge stitches – a rolled Stockinette edge or an I-cord edge both work well
- Add an all-over lace pattern to the body of the shawl
You can also play with color with this shape. By changing the yarn colors you can:
- Choose a gradient yarn that will do all the color changing for you.
- Work small or wide stripes in Garter or Stockinette stitch – or alternate the two for additional texture along with color.
- Work a ‘fade’ – alternating between colors at intervals to ‘fade’ from one color to another.
- Add a few small sections of a simple slip-stitch or Mosaic pattern.
An easy way to add texture is by working at set intervals along the body of the shawl (eyelets are worked by working paired yarn overs and decreases across the row). You could also add texture by alternating sections of Garter stitch with sections of Stockinette. This doesn’t really require any extra preparation.
Stitch Patterns for Top-Down Triangle Shawls
Stockinette and Garter stitch are both classic and easy choices for a top-down triangle shawl but sometimes you might want something with a little more interest. Because shaping is worked at specific points in a top-down triangle shawl, it’s not too difficult to add an interesting texture or stitch pattern.
First, choose the stitch pattern you’d like to use and think about how you’d like it to fit into your shawl shape. The easiest way to add interest is the central panel. Because the stitch count remains constant (and you can easily adjust the width of this panel), you can easily add a stitch pattern here. A lace panel can be very pretty or even a simple cable worked right down the center can add plenty of visual interest.
Another simple option is to work a few basic stitch patterns. For example, you could begin your shawl in Stockinette stitch and, after working a few inches, switch to Garter stitch, and then after working a few more inches, switch back to Stockinette. This can provide some textural interest without adding anything difficult. Of course other simple stitch patterns (like Seed stitch) could also be used instead.
You can also add a stitch pattern to the body of the shawl. Something simple like eyelets are always an easy textural touch but you can get more advanced and chart out a design (see the next section for more information about that).

Charting a Top-Down Triangle Shawl
If you want to use a stitch pattern beyond something basic like rows of eyelets, charting out the design can be very useful to see how it will look on the finished shawl.
A top-down triangle shawl can look a little odd in chart form (see the image above), but once you see the parts, you’ll begin to understand what’s happening.
There are edge stitches at each end (the three Garter stitches in the chart above). There’s one central ‘spine’ stitch dividing the two triangles of the shawl. And these two triangles start with just a few stitches and continue to grow so you’ll see some grey ‘no stitch’ boxes to accommodate those upcoming additional stitches.
If you were to do a little paper crafting, you could cut out those grey ‘no stitch’ boxes and tape together the remaining pieces – and you’d see the final shape of the top-down triangle shawl. It’s hard to picture from one of these charts – but it’s there!
You can use a chart like this to fill in that stitch pattern you’d like to use to see how it would fit within the shape. And there are a few ways you can add a stitch pattern:
- Work in your preferred background stitch (like Garter or Stockinette) until you have enough space to incorporate a full repeat of the stitch pattern you’ve chosen.
- Figure out how to add partial repeats of the stitch pattern to fill in more of the background space.
- For an all-over pattern, make a large grid with the stitch pattern and add the shape of the shawl over the top.
For a more visual example of these three methods, here’s a video that demonstrates each one:
Nerdy Knitting on YouTube: Three Ways to Add a Stitch Pattern to a Shawl
A chart is really a great way to work out any stitch pattern, because it gives you a visual of how the finished shawl will look and it gives you some space to experiment and try out a stitch you might not have considered. You can get a free copy of the charts for your own experimentation – just fill out the form above.
One final thing – you’ll want to remember to balance the pattern and, if the pattern is directional, you’ll want to think of how the two sides of the shawl will look. If you are knitting a lace design that shifts to the left, how will that look across both sides of the shawl? Would it be better to have the design shift to the left on one side, and then on the other half of the shawl have it shift to the right so they are mirror images?
This is something that is determined on a case-by-case basis as you’re designing. This is also a good time to make a small practice swatch to see if you like the design knit up before beginning a larger shawl.
Yarn Estimates for a Triangle Shawl
Now that you know all the basic information you’ll need to knit your own top-down triangle shawl, you’ll need to get some yarn and start knitting. The table below will give you a rough estimate for the amount of yarn you’ll need. The smaller number will create a small shawlette and the larger number will create a larger shawl.
| Yarn Weight | Yardage Estimate |
| Fingering | 500-800 yards |
| Sport | 450-750 yards |
| DK | 400-700 yards |
| Worsted | 350-600 yards |
Creating a Heart-Shaped Shawl
Now you know everything you need to knit a top-down triangle shawl – all the basics for choosing your background (Garter or Stockinette stitch), how to adjust the initial cast-on amount to change the size of all the elements, how to work a Garter tab cast on (and how to adjust it for any cast on number). You’ve even learned how you can add a stitch pattern for a truly customized design.
But there’s one more thing you can do to a top-down triangle shawl to create a new shape!
You can create a heart-shaped shawl by making one small change to the pattern. On wrong-side rows you’ll include an additional increase at each edge. This extends the wingspan of the shawl and makes the ends curve up and in – into a heart shape.
Note: right-side row instructions remain the same; only wrong-side row instructions are changed.
If you want to work a heart-shaped triangle shawl in Garter stitch fabric, use this for your wrong-side rows instead of the instructions provided at the beginning of this article:
Knit 3, slip marker, yarn over, knit to final marker (slipping other markers as you come to them), yarn over, slip marker, knit 3. (2 sts inc)
If you want to work a heart-shaped triangle shawl in Stockinette stitch, follow these instructions for the wrong-side rows:
Knit 3, slip marker, yarn over, purl to final marker (slipping other markers as you come to them), yarn over, slip marker, knit 3. (2 sts inc)
Now you know everything you need to get started, but if you’d like to dive a little deeper into the construction of a top-down triangle shawl, this video is for you:
Now you can get started knitting your own top-down triangle shawls. If you’re looking for a little more inspiration, here are twelve top-down triangle shawl knitting patterns to show you just how versatile this shawl shape can be.
Recommended reading: 12 Fun Top-Down Triangle Shawl Knitting Patterns
Links below are affiliate links. If you click through and make a purchase I may make a small commission at no extra cost to you. See the Disclosure for more information.
Recommended Resources for Shawl Knitting
- Custom Shawls for the Curious & Creative Knitter by Kate Atherley and Kim McBrien Evans (available on Amazon)
- Knit Shawls & Wraps in One Week by Marie Greene (available on Amazon)
- Knitting Modular Shawls, Wraps & Stoles by Melissa Leapman (available on Amazon)
More Articles about Knitting Triangle Shawls
- How to Knit a Kite Shawl
- How to Knit an Asymmetrical Triangle Shawl (Two Ways!)
- How to Knit a Triangle Shawl Sideways from Tip to Tip