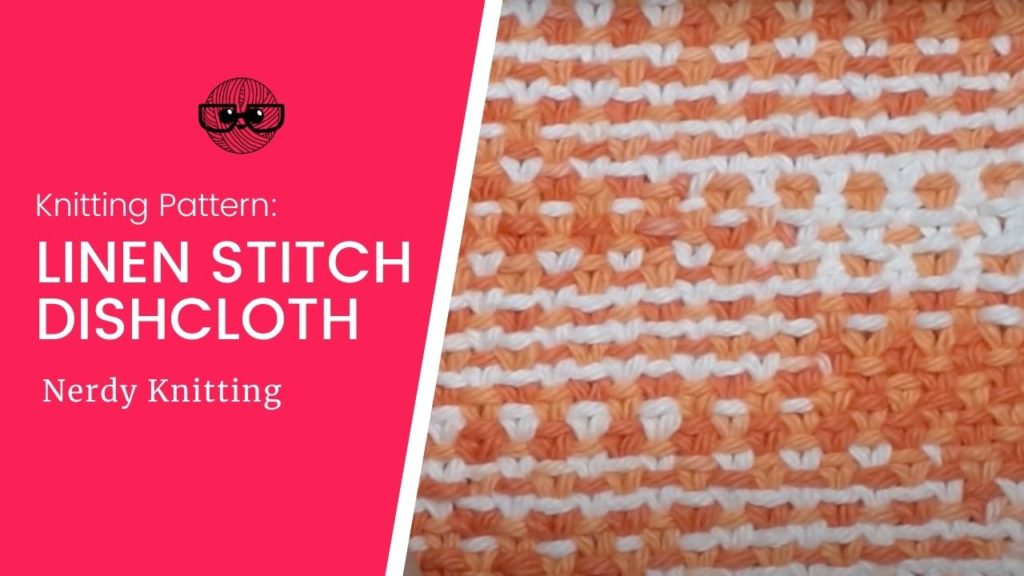
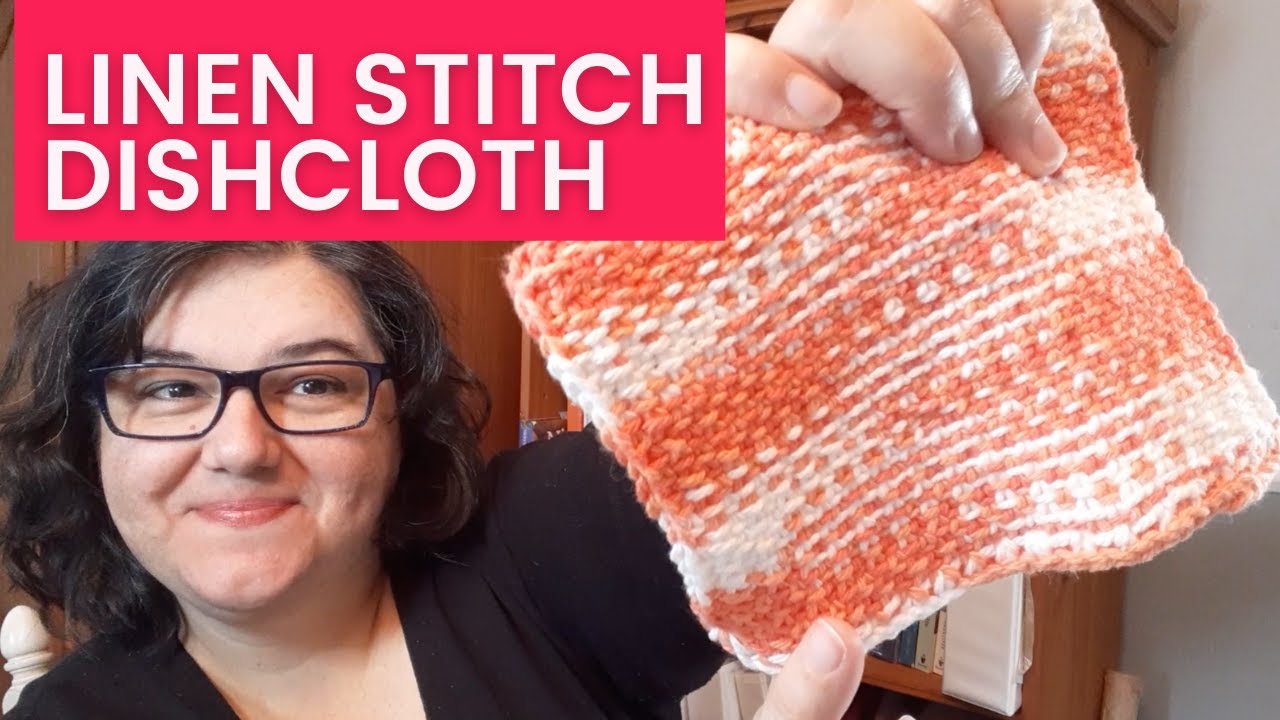
Linen Stitch is an easy two-row knitting stitch pattern that makes a great dishcloth. Its woven texture is sturdy and works well in solid colors as well as variegated yarns.
The simple pattern is made up of two rows worked over an even number of stitches:
- Row 1: Knit one stitch, slip 1 stitch purlwise with the yarn held to the front of the work.
- Row 2: Purl one stitch, slip 1 stitch purlwise with the yarn held to the back of the work.
You can change the pattern by adding border stitches or other variations, but these two rows are the basic instructions for Linen Stitch. Because of it’s woven nature, this stitch pattern makes a great dishcloth.
You’ll find full instructions below for the Linen Stitch Dishcloth, but if you prefer a version that you can save and print, fill in the form below to get the pattern delivered directly to your email inbox. And, if you want a video walkthrough, there is a full video tutorial at the end of this article.
Get the Linen Stitch Dishcloth Pattern

Fill in the form below to get access to the FREE Resource Library – and get a copy of the Linen Stitch Dishcloth pattern.
Some links below may be affiliate links. If you click through and make a purchase I may receive a small commission at no extra cost to you. See the disclosure policy for more information.
Required materials:
The following tools will be needed to knit the dishcloth:
- Cotton dishcloth yarn (CYC Medium 4) – my favorite is Knit Picks Dishie
- US 8 (5mm) knitting needles – here’s a peek at my favorite needles
- Crochet hook (about the same size as the knitting needle) – I use and love this set from Knit Picks
- Tapestry needle for weaving in ends – I like these bent tip needles
Step One: Cast on 36 stitches
The first step is to cast on 36 stitches. You can use any method you like, but for this pattern, I prefer the Crochet Cast on because it matches the basic bind off and the slip-stitch selvedge edge that this pattern uses.
To work the crochet cast on:
- Make a slip knot and place it on the crochet hook.
- Hold a knitting needle in your left hand and the crochet hook in your right, parallel to each other. Image 1 below
- Bring the working yarn underneath the knitting needle and the crochet hook over the top, catching the yarn. Images 2 & 3
- Draw the yarn through the slipknot on the crochet hook (this forms one stitch cast onto the needle.) Images 4 & 5
- Bring the yarn between the crochet hook and knitting needle. Image 6
- Repeat Steps 3-5 until all but one of the stitches have been cast on.
- Holding the needles parallel, place the stitch on the crochet hook onto the knitting needle (this is the final cast on stitch).


Step Two: Work Row 1 of the Linen Stitch Pattern
Once all the stitches have been cast on, you’re ready to work the first row of the pattern.
Row 1 (RS): Sl1 wyib, k1, *sl1 wyif, k1; rep from * to end.
Holding the yarn to the back of the work, slip the first stitch purlwise from the left needle to the right (this forms the chained selvedge edge). Image 1 below
Then work the Linen Stitch pattern across the remaining stitches – knit one stitch, bring the yarn forward between the two needles and slip the next stitch purlwise from the left needle to the right needle (image 2 below). Move the yarn to the back and knit the next stitch.
Repeat these two steps until you’ve worked all the stitches across the row, ending with a knit one.


Step Three: Work Row 2 of the Linen Stitch Pattern
Row 2 (WS): Sl1 wyif, p1, *sl1 wyib, p1; rep from * to end.
Holding the yarn to the front of the work, slip the first stitch purlwise from the left needle to the right (to continue the chained selvedge edge). Image 1 below
Now you’ll move on to Row 2 of the stitch pattern – purl one stitch, move the yarn to the back of the work and slip the next stitch purlwise from the left needle to the right needle (image 2 below). Purl the next stitch. Repeat these two steps – alternating between slipping stitches and purling stitches until you’ve finished the row, ending with a purl one.


Step Four: Continue working Rows 1 & 2
The two rows above are all you need to work the linen stitch pattern. Keep working the rows until your dishcloth measures 5 inches (or as large as you want).
You’ll notice as the fabric develops, that the front of the dishcloth has a woven appearance and the back looks like Seed Stitch. This happens because of where the yarn is held when the stitches are slipped on each row – it’s always held to the right side of the work (holding it to the front side that’s facing you while you are working right-side rows and holding it to the back of the side that’s facing you when working wrong-side rows).
By holding the yarn to the right side of the dishcloth when slipping stitches, small floats are created across the fabric. By combining this with a base of Stockinette fabric (which is created by knitting on the right side and purling on the wrong side), a woven textured fabric is formed.
Once you understand how Linen Stitch is formed, it’s easy to keep track of your place in the pattern.
First, determine whether you’re working a right-side or wrong-side row (right-side rows look woven; wrong-side rows look like Seed Stitch). Then, look at what’s currently on your needles. Stitches that were slipped in the previous row need to be worked on this row. And stitches that were worked on the previous row should be slipped on this row.
When this becomes clear you don’t even really need to reference the pattern, just read your knitting! This concept is explained in more depth in the video below.
Step Five: Bind off
Once the dishcloth is complete you are ready to bind off.
- Knit the first two stitches.
- Insert the left needle into the front leg of the first stitch on the right needle, bringing it over the first stitch and dropping it off the needle. See images below
- Knit another stitch.
- Repeat steps 2 & 3 until all the stitches have been bound off.
- When one stitch remains, cut the yarn and draw it through the final loop.


Once the stitches are bound off, use the tapestry needle to weave in the yarn tails and your dishcloth is ready to use!
If you’re looking for more fun dishcloth patterns or kits, here are some suggestions:
- Learn to Knit Dishcloth Kit
- Ultimate Dishie Dishcloth Kit (also available in CotLin yarn kits)
- Easy Knit Dishcloths
Linen Stitch Video Tutorial
For a full tutorial that demonstrates each step in the process, watch this video:
More Knitting Pattern Tutorials & Articles
- Incredibly Easy Dishcloth Patterns for Beginner Knitters
- What You Need to Know about Knitting with Cotton Yarn
- Easy Scarf Knitting Pattern for Beginners