
A knitting pattern that will require you to know how to increase on a purl row is something that most knitters will eventually encounter. While many patterns will tell you which increase to use, it’s a good idea to know a few different techniques so you can substitute with confidence.
If you need to work an increase on a purl row (or in a purl stitch), these are some of the most common methods you can use:
- Yarn overs
- Bar increases (also called Purl Front Back)
- Make one increases
- Lifted increases (also called Knit Right/Left Loop)
All of these increases are often used on the right side of the work but they can also be used on wrong-side rows, when you need to work an increase in a purl stitch, or in reverse Stockinette.
In this article, we’ll take a look at each of these increase methods, how they are worked in purl stitches, and when you would want to use each one. There is also a video for each increase that will demonstrate the increase and more tips to help you understand how they work.
Increasing on a Purl Row
Like working increases on knit rows (or the right side of the work), an increase stitch adds to the total stitch count for that particular row. Increases can be created between two stitches or they can be worked directly into a stitch. Increases are used for a variety of reasons, including:
- Used decoratively in lace patterns
- For garment shaping
- To add width to a fabric
While increases are most commonly worked on right-side rows, it’s good to know these alternate methods so you can work increases on wrong-side rows (and the main fabric is Stockinette or predominantly knit stitches on the front of the work), work an increase in a purl stitch (and you want it to be as unobtrusive as possible), or work an increase in reverse Stockinette or another fabric where purl stitches are dominant.
For the sake of clarity, this article will assume that you are working increases in reverse Stockinette, on the wrong side of the work (so the right side is Stockinette fabric).
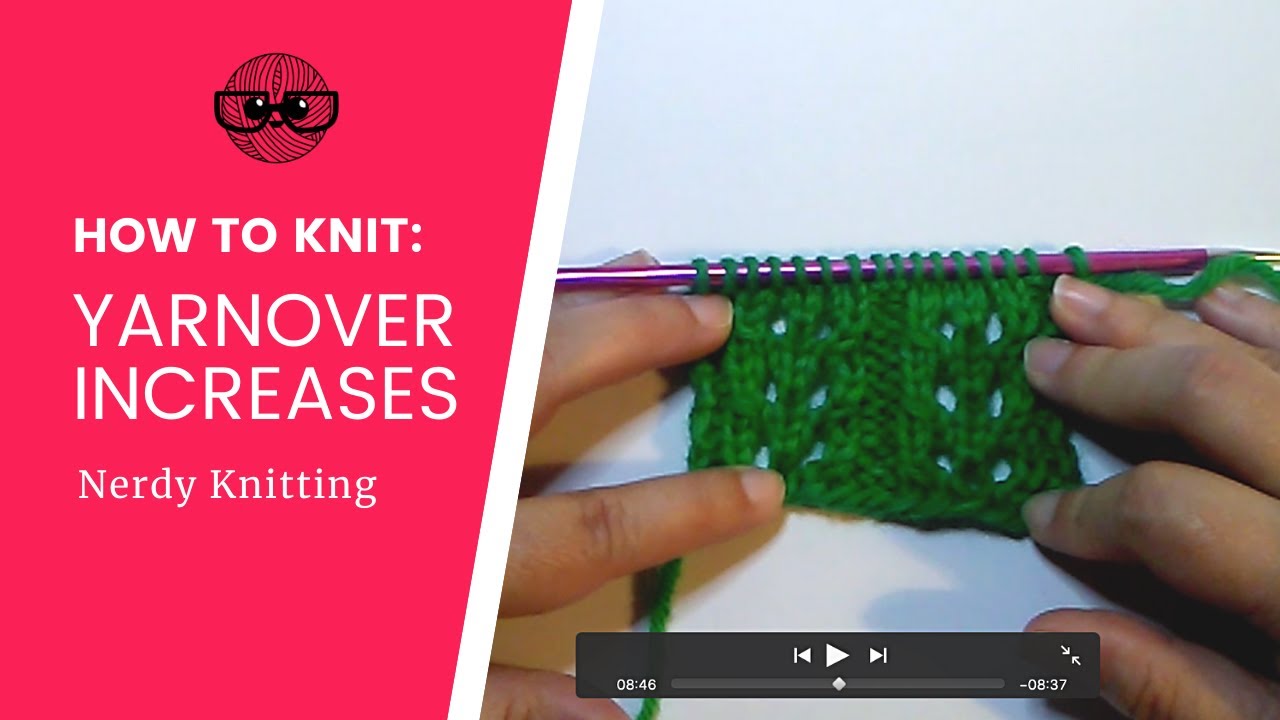
Yarn Overs
The yarn over increase is worked exactly the same way on wrong-side rows. To work a yarn over between two purl stitches, where the working yarn is already in the front, bring the yarn up and over the right needle and back to the front between the two needles (images 1 & 2 below). That is a yarn over between two purl stitches. After the yarn has moved up and over the right needle and is back in front, you are ready to work the next purl stitch (image 3 below).


After creating the yarn over and working the next stitch, you’ll notice that it leaves a hole in your work underneath the place where the yarn over was created (image 4 below). It’s a normal feature of the yarn over and is why this stitch is used in lace knitting – the holes are used to create decorative designs in lace fabric and garments. When yarn overs are paired with single decreases, it makes a simple yarn over buttonhole.
On the next row, when you come to the yarn over, treat it like any other stitch, and knit the yarn over just as if it were a normal stitch (see image below).

If you want to use a yarn over but don’t want the decorative hole, it’s possible to close the hole by knitting it through the back leg when you come to the yarn over on the next row. This will twist the yarn and reduce the size of the hole (but it probably won’t eliminate it completely). If a pattern calls for this, it will most likely explain why in the instructions.
For a deeper look at yarn overs: All About Knitting Yarn Overs
Purl Front Back (PFB)
The Purl Front Back (commonly abbreviated ‘pfb’) is also referred to as the Bar Increase. It’s related to the commonly used increase ‘Knit Front Back’ (commonly abbreviated ‘kfb’). Both of these take one stitch and turns it into two (which is NOT the same as working an increase between stitches).
To work a PFB, bring the yarn to the front, insert the right needle into the left as if to purl, wrap the yarn to form the stitch, pull it through but don’t drop the old stitch off the left needle (image 1 below). Instead, turn the right needle and insert it into the back leg of the stitch on the left needle to purl it through the back loop (inserting into the back leg from left to right) (images 2 & 3 below). Once you’ve created both stitches, drop the old stitch off the left needle.


You’ll notice after working the increase that the second stitch has a small bar beneath the needle when viewed from the right side of the work (that’s why it’s often referred to as a Bar Increase – see the final image above). This bar, while obvious in Stockinette fabric, hides quite easily among the other purl stitches so it’s a great increase in fabrics where purl stitches are dominant (like reverse Stockinette, textured knit-and-purl fabrics, and even Garter stitch).
Mirroring the PFB increase (working an increase at the right and left edges of your knitting) is a little more involved compared to working the KFB on the right side of the work. You need to be aware of the bar that is formed when creating the second stitch. If you work the increase in the third stitch at the left edge (which is the right edge of the front of the work), the bar is located beneath the third stitch.
If you want to mirror this along the left edge of the right side of the work (the right edge of the wrong side of the work), you need to work the increase on the second stitch from the edge to place the bar on the newly formed third stitch.
A further variation on the PFB is the PBF (purl back front), which reverses the order the stitches are worked. To work a PBF, purl into the back leg of the stitch first, keeping the stitch on the left needle. Bring the right needle to the front and purl into the front leg of the stitch before finally dropping the twice-worked stitch off the left needle.
This increase is also the basis for a double increase (increasing from one stitch to three stitches) – the PFBF. To work this increase, work just as for a regular PFB – purling into the front and back of the stitch but add one more step. After purling into the back of the stitch, bring the needle around and purl into the front leg one more time before letting the old stitch drop off the left needle.

Discover the Confidence You Need to Fix Your Knitting Mistakes

By the end of this six-part self-paced course, you’ll be able to read your knitting, recognize a variety of knitting mistakes, and understand how to fix them.
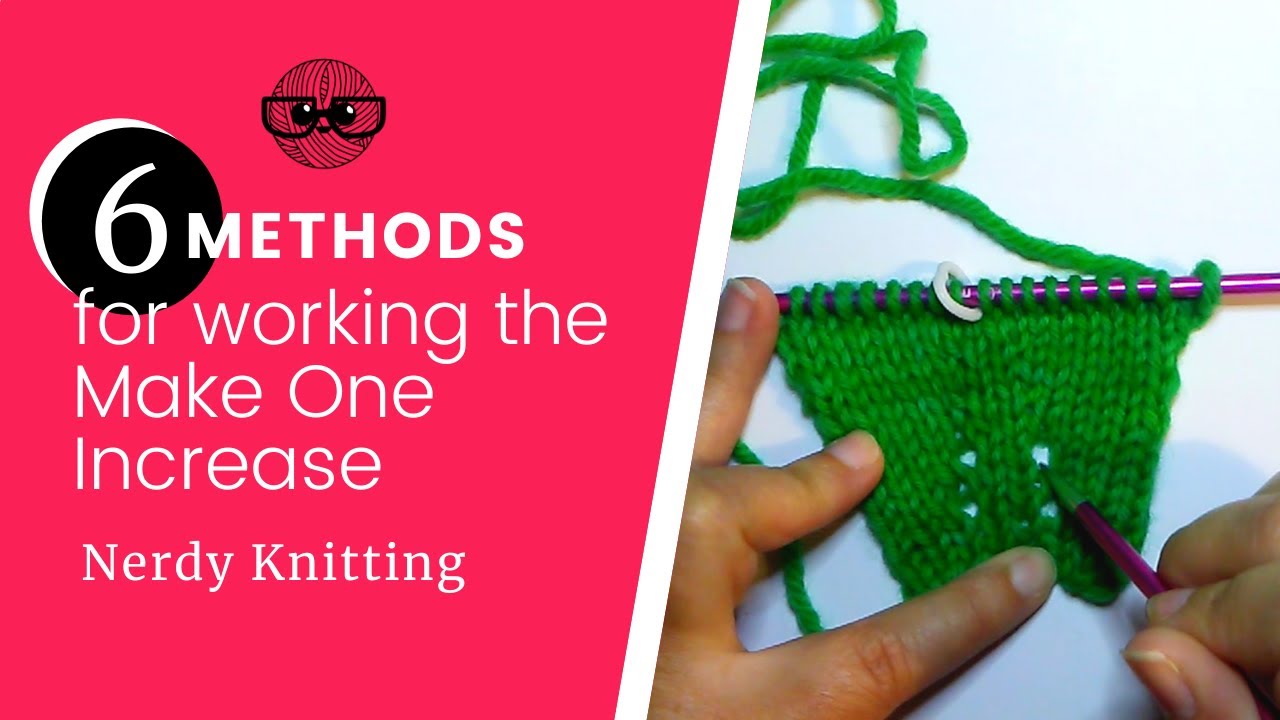
Make One Increase Purlwise
The Make One increase is a common increase that can also be worked on the wrong side of the work. When it’s worked purlwise it’s referred to as the Make One Purlwise (commonly abbreviated ‘M1p’). The Make One increase creates a new stitch between two stitches. The basic version of this increase creates an open stitch that is similar to a yarn over (and is exactly the same as picking up a missed yarn over from the previous row).
If you don’t want the hole created from working the open version of this increase, there are two ways to twist the loop to close the hole – the Make One Left Purlwise (commonly abbreviated ‘M1lp’) and the Make One Right Purlwise (commonly abbreviated ‘M1rp’).
To work the open version, locate the running bar between the stitch on the left needle and the stitch that’s located beneath the just-worked stitch on the right needle. Insert the left needle underneath this running bar from front to back and lift it up onto the needle (image 1 below). Now work this new stitch as if it were a purl stitch (image 2 below).
As you can see from the last two images below, the Make One creates a small hole.


Make One Left Purlwise
To twist the open Make One Purlwise closed so the twist slants to the left, insert the left needle into this running bar from front to back and lift it onto the needle (just like you’re going to work a Make One open – image 1 below). Purl it through the back loop (image 2 below) and the legs will twist (image 3 below) and the front leg will slant to the left when viewed from the front of the work (image 4 below).


Make One Right Purlwise
To twist the open Make One Purlwise closed so the twist slants to the right, insert the left needle from BACK to front under the running thread, and lift it onto the needle (image 1 below). Insert the right needle into the front leg of the picked-up bar and purl it like a normal purl stitch (image 2 below). The front leg twists off to the right when viewed from the front of the work (final image below).


While they are both fairly easy to work, sometimes it’s tricky trying to remember if you’re supposed to pick up the running thread from the front or the back for each stitch. Here’s one easy way to remember which is which:
As you pick up the running bar, pay attention to the direction it’s leaning as it sits on the left needle. If the leg is slanted off to the left, it’s all set to be worked as a left-leaning decrease. If it’s slanting off to the right, it’s ready to be worked as a right-leaning increase.
Once you have that sorted out. Think about how the stitch needs to be worked to close the hole – which will be obvious as you insert the right needle. If the stitch is leaning off to the left and you insert the needle into the front leg you’ll see that it will create an open stitch. Instead, it needs to be worked through the back leg.
If you pick up the running thread and it’s leading leg is slanting to the right, it more obvious that you need to work it through the front leg to twist the stitch closed. If you were to work it through the back leg it would be an open stitch.
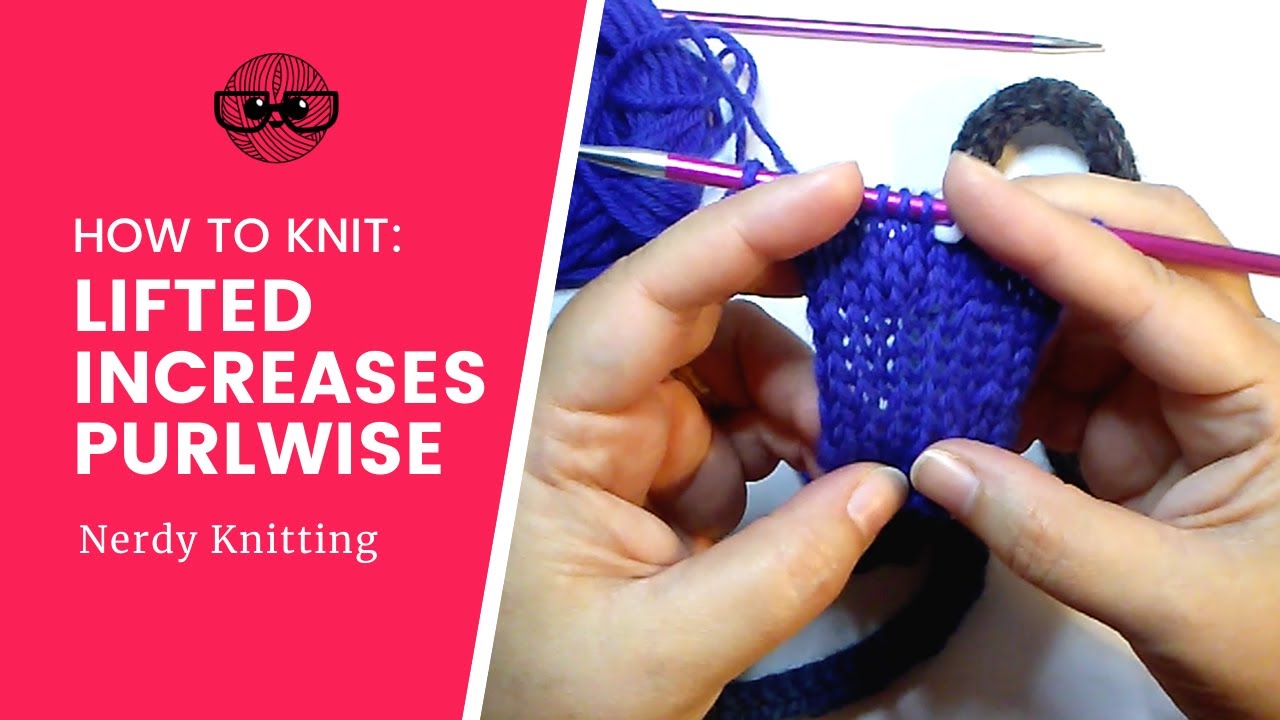
Lifted Increases
Lifted increases are less commonly used in the knitting community in North America (but they are deservedly becoming more popular). It’s one of my favorite ways to increase as I find it to be the increase that is the least noticeable in knit fabric so it’s my go-to method when I’m adding shaping to a garment or when I want the least noticeable increase.
There are two ways to work the Lifted Increase on a purl row – the Right Lifted Increase Purlwise (as far as I’m aware there is no common abbreviation for the purlwise version of this increase which is usually abbreviated ‘RLI’) and the Left Lifted Increase Purlwise (the standard abbreviation for the knit version is commonly abbreviated ‘LLI’). Other names I’ve seen for this type of increase is the Purl Right Loop (PRL) and Purl Left Loop (PLL).
What’s interesting about the increase is that, while the purl versions of the increase are created in much the same way as the standard versions, they create an opposite slant. So the purl version of the Right Lifted Increase creates a left-leaning slant when viewing the right side of the work and the purl version of the Left Lifted Increase creates a right-leaning slant when viewing the right side of the work. You’ll want to be aware of this fact if you are using mirrored versions of these increases and want the slants to lean in a certain direction at each edge of the work.
To work this increase, first, you must locate the stitch it will be worked in. When it’s worked on the right side of the work, you need to look for the leg of the stitch; in the purl version, we look for the head of the stitch. While looking at the first stitch on the left needle, the stitch that’s just below the stitch on the needle is where the increase will be worked.
Right Lifted Increase
On the purl side, you need to locate the head of the stitch that’s just below the stitch currently on the left needle. Once you’ve located the stitch that will be used for the increase, insert the right needle from top to bottom into the head of this stitch (image 1 below) and place it on the left needle (image 2 below). While it’s on the needle, purl into it (image 3 below) and let it drop off the needle before purling the next stitch.
When viewed from the front side of the work, you can see that there are now two stitches coming out of one stitch (image 4 below). But, because of the way the increase is created, the leg of the stitch used to create the increase is slightly more elongated, creating an increase that has a left-leaning slant when viewed from the front of the work.


Left Lifted Increase
To work the left-leaning version of this stitch, you first need to knit the stitch on the left needle so the stitch to be used for the increase is on the right needle – ready for you to use the left needle to lift the head of the stitch and use the right needle to knit into the leg.
It might seem a little confusing the first time you need to work this stitch, but just pay attention to what is happening. There’s no way to work the increase into the left leg of the stitch until you’ve moved the stitch to the right needle.
But, when you’ve worked the stitch on the needle and moved it over, the stitch that is used for the increase has moved down and is now two stitches below the stitch on the right needle. The first time you accidentally try to work an increase in the stitch above you’ll realize the mistake – there’s already a stitch there (the stitch on the needle) and you can’t add another one.
Once you’ve located the appropriate stitch (image 1 below) insert the left needle into the head of this stitch from bottom to top, lifting it up onto the left needle. While it’s on the left needle, purl into it (image 2 below) before letting it drop off the needle.
When viewed from the front side of the work, you can see that there are now two stitches coming out of one stitch (image 3 below). But, because of the way the increase is created, the leg of the stitch used to create the increase is slightly more elongated, creating an increase that has a right-leaning slant when viewed from the front of the work.


Once you understand how to work these increases on the purl rows of your knitting, you’ll be able to tackle any pattern that asks you to work increases on the wrong-side rows with ease. If you want to see these increases in action, watch the video below.
For further information about increasing on a purl row, take a look at the resources listed below (some links are affiliate links – I may receive a small commission at no extra cost to you if you click through and make a purchase; see the disclosure policy for more details).
Recommended Resources
- Vogue Knitting (available on Amazon)
- Increase, Decrease by Judith Durant (available on Amazon)
- Knitter’s Handbook by Montse Stanley (available on Amazon)
- The Principles of Knitting by June Hemmons Hiatt (available on Amazon)
- “Single Knit and Purl Increases” by Binka Schwan, Cast On (The Knitting Guild Association)
More Knitting Techniques
- The Basics of Slip-Stitch Knitting
- How to Increase in Knitting (Essential Increases for Every Knitter)
- 5 Basic Knitting Cast On Techniques every Knitter Should Know